
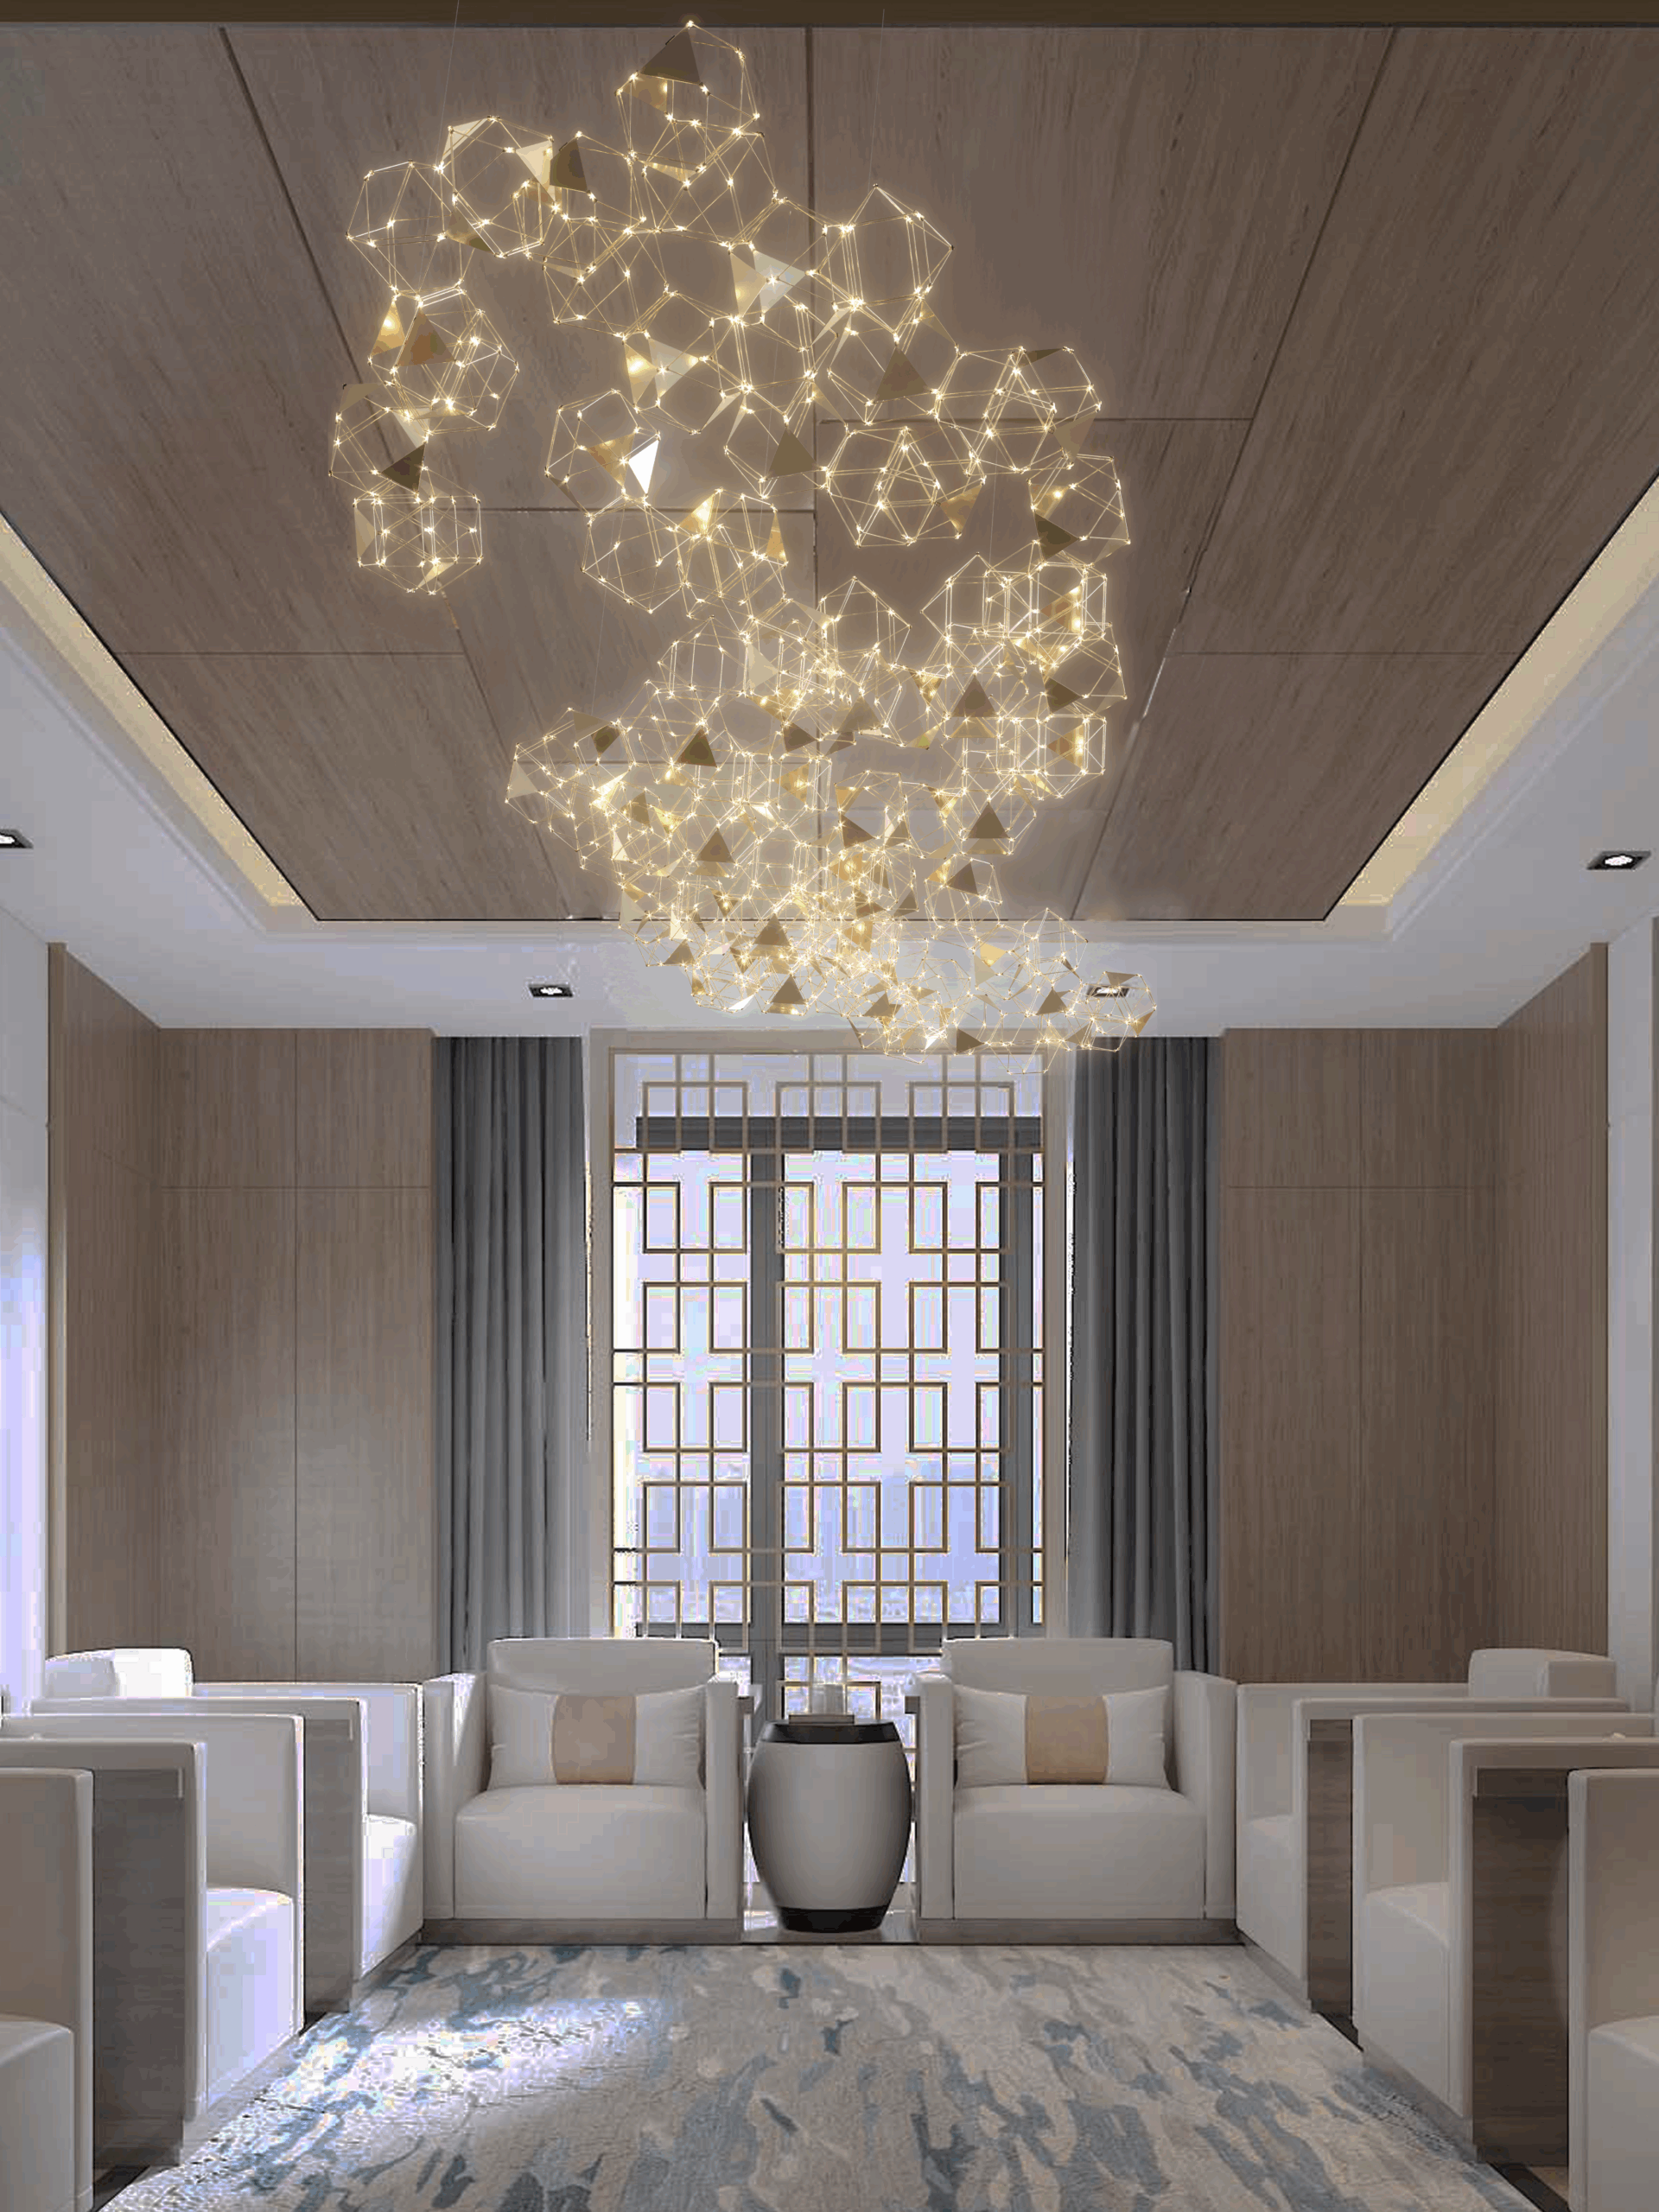
Why Comparing Options First Saves You Time and Cost
A client walks into a room and says, “It feels flat.” You can tell they want warmth, clarity, and a little drama. A bespoke lighting company often hears this at the very start, usually after someone tried a quick fix that fell short. Here’s the reality: lighting can account for about a tenth of home energy use, and in retail it can shape how long people stay—small choices add up. So, which path helps you move fast without making the same mistakes twice? (Hint: compare before you commit.) We’ll look at how contrast—not just brightness—guides the eye, and how materials and control matter as much as the lamp. Think of it as a calm checklist, not a lecture. We will keep things simple but precise, because the goal is trust, not jargon. Ready to replace guesswork with clear steps—one room, one corridor, one brief at a time? Let’s map the gaps before we plan the fix.
Under the Shade: Where Traditional Solutions Fall Short
What keeps going wrong?
When teams plan bespoke interior lighting the old way, they start with a catalog and work backward. That flips the process. Standard fixtures are not tuned to your exact geometry, so glare and patchy coverage creep in. Low or mismatched CRI makes finishes look dull, even when the ceiling is bright. The beam angle fights the room—walls overlit, task zones underlit. Then the drivers do not match the dimmer profile, so you get flicker at low levels. Thermal management is guessed, not calculated, which shortens LED life. And commissioning? Often rushed. You end up chasing problems at the end instead of shaping light at the start. It’s not that anyone failed; the system did.

There’s also a hidden cost: control chaos. Mixing DMX control for features with basic phase dimming on the same line can cause noise—funny how that works, right? Power converters are sized for the “average,” so peaks create drop or hum. The result is light that measures fine but feels off. Look, it’s simpler than you think. Start with scene intent, then model reflectance and sightlines. Keep color quality steady across zones to avoid “tone jumps” between rooms. Choose a driver family that matches your dimming curve across fixtures, then lock thermal headroom early. You will avoid the late-stage scramble, and your schedule—and nerves—will thank you.
From Constraints to Capability: A Forward Look at Custom Builds
What’s Next
Now let’s compare what’s coming with what you’ve known. Modern custom arrays use modular LED engines, tuned optics, and quiet drivers that hold a clean curve down to 1%. Add edge computing nodes at the room level, and scenes run locally if the network drops—steady, safe, predictable. A crafted piece like a bespoke chandelier can now mix direct and indirect light with a shared driver platform, so color stays true from centerpiece to cove. Materials also evolve: micro-prismatic diffusers tame glare while keeping punch. And the old “on/off vs. dim” debate? Tunable white and soft-start profiles make daylight sync feel natural (no harsh ramps). In short, the new stack treats hardware and control as one system, not rivals—and that’s a big shift.
So, how do you choose with confidence—fast? Use three simple metrics. 1) Light fidelity under real finishes: check CRI and TM-30 in mockups, not just spec sheets. 2) Electrical and thermal headroom: drivers and power converters should run below max load, with thermal paths mapped in the housing. 3) Control interoperability: test DMX or DALI scenes with your chosen drivers and sensors before install. These checks let you compare options fairly and avoid late redesigns. In the end, clarity beats flash. Plan the scene, match the optics, and keep the system stable—then the room tells the story you meant it to tell. For steady guidance, you can always cross-check with kinglong.