
The core problem: why outdoor fan installs intimidate homeowners
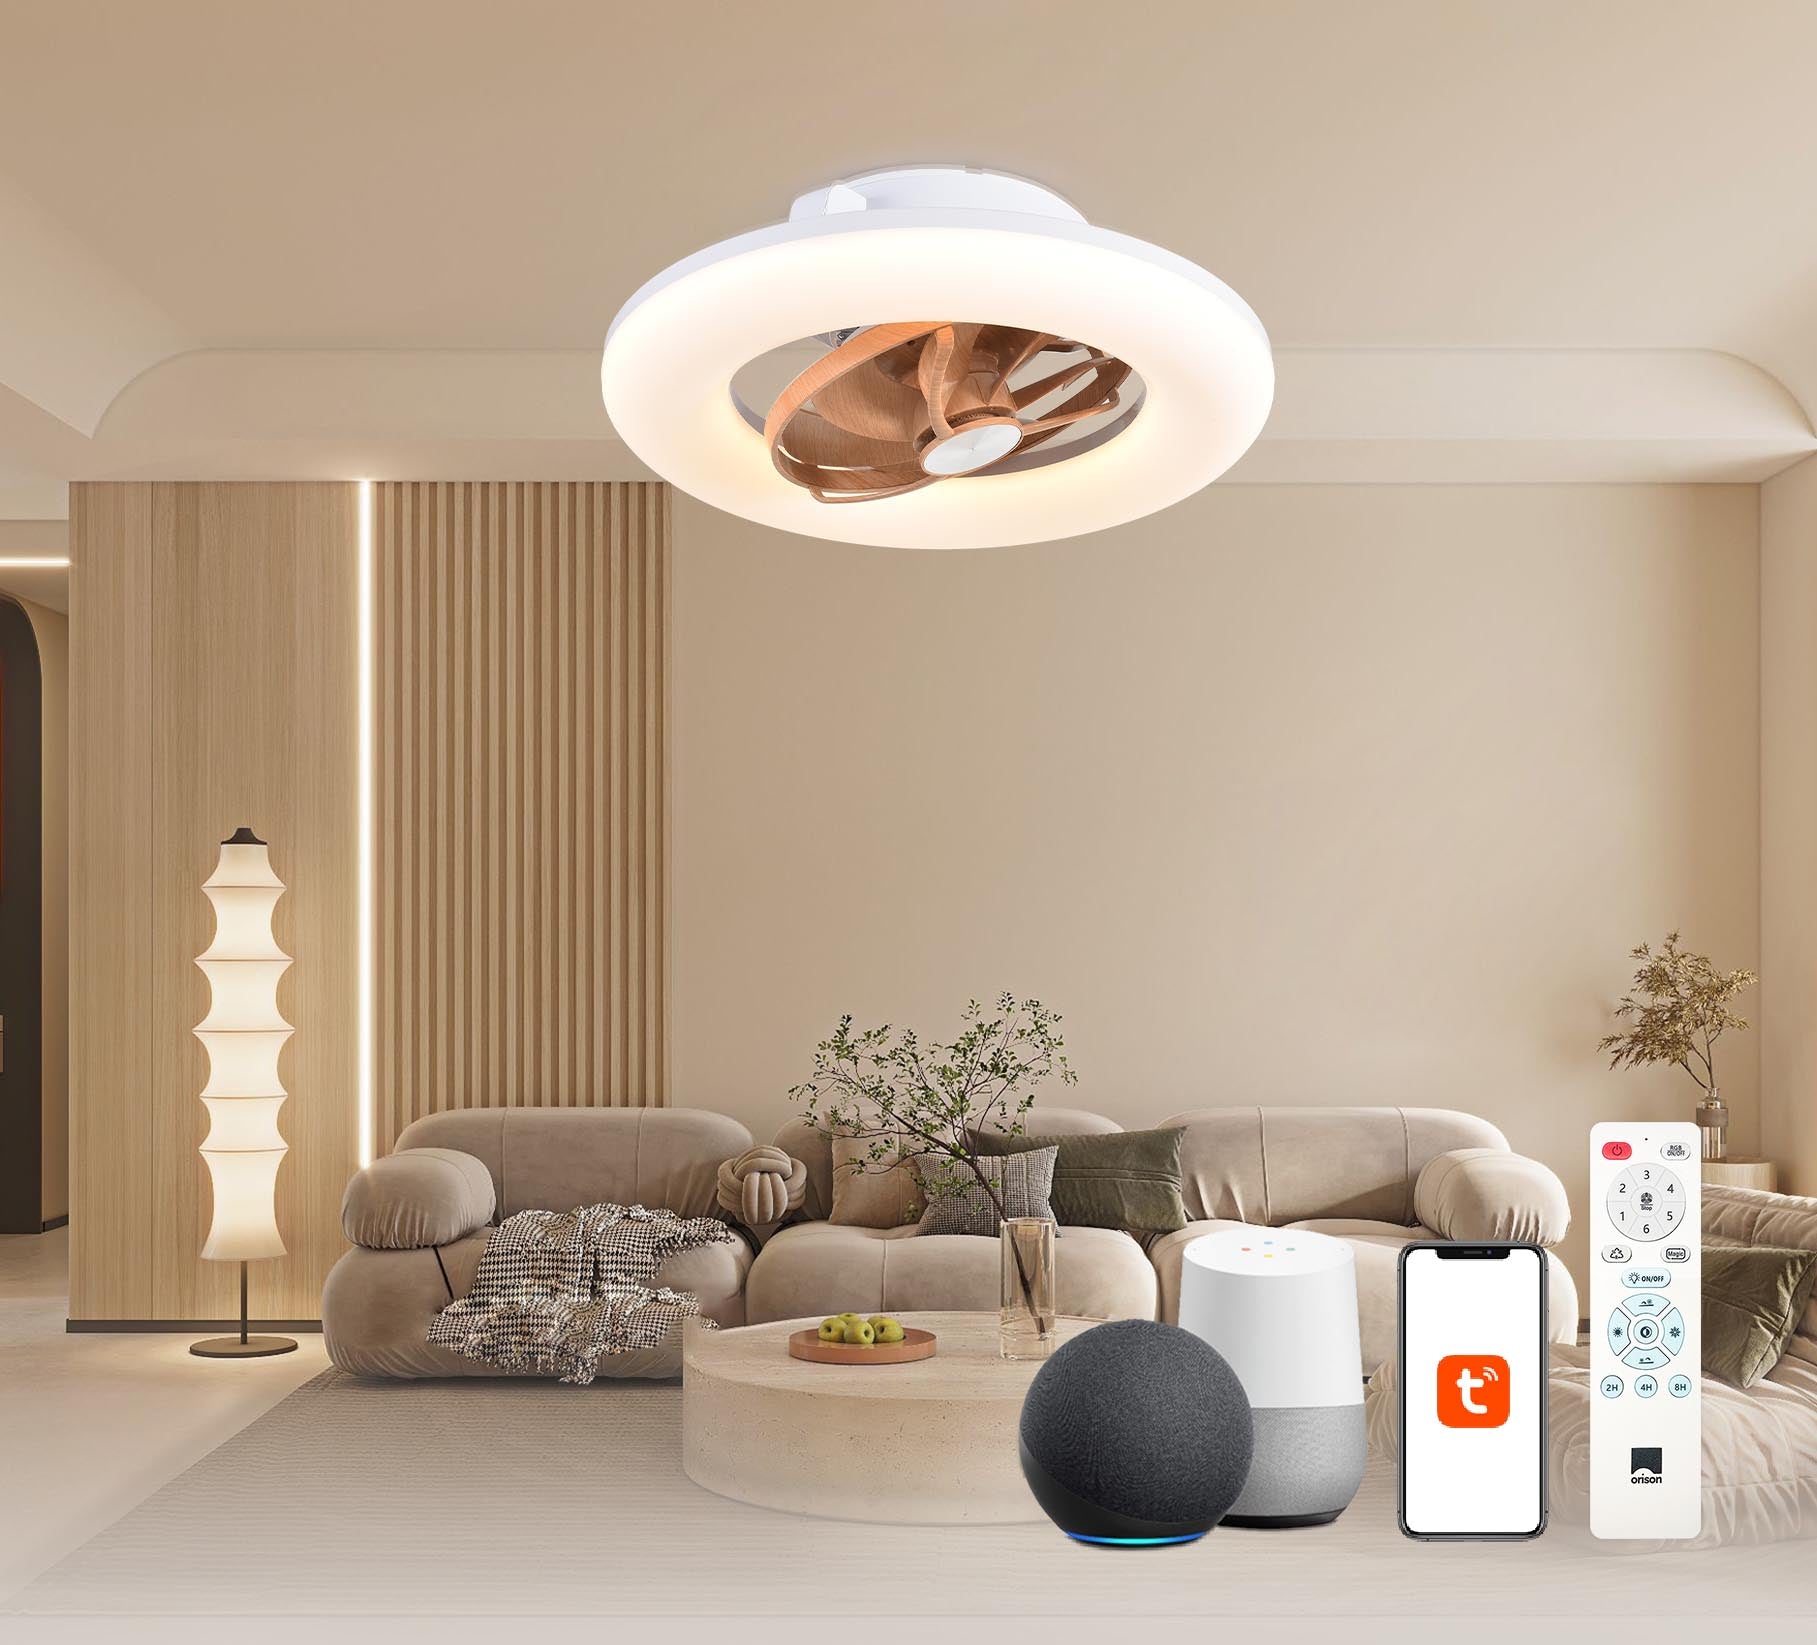
Many homeowners want the cool breeze and ambiance of an outdoor ceiling fan with light, yet the job looks daunting: wiring, weatherproofing, and ensuring the unit sits solidly under an eave. If you’re considering a modern unit—say an alexa ceiling fan—the added smart setup can feel like another layer of complexity. The real issues aren’t just skills; they’re mismatched parts, wrong ratings (indoor vs. damp-rated), and misunderstanding how the motor housing and downrod behave under load. In my own Makati condo install, that gap showed up as wobble and a flaky light connection until I corrected the bracket and wiring approach — a practical anchor to what follows.
Pre-install checklist: parts, safety, and rating checks
Before you lift anything, confirm three non-negotiables: the fan is damp-rated for outdoor-covered spaces, the mount point can bear the motor housing weight, and your supply circuit matches the fan’s wiring harness and light kit. Tools and supplies to have on hand: voltage tester, torque screwdriver, mounting bracket, downrod (if needed), wire nuts, and a ladder rated for the job. Also verify local building or condo rules — you might need permission pa if the fixture changes the façade or shared wiring.
Step-by-step installation summary (what to watch for)
1) Power off at the breaker and double-check with a voltage tester. 2) Secure the mounting bracket to a ceiling joist or approved fan-rated box; this is where many go wrong if they use a simple junction box not rated for fans. 3) Assemble the fan components on the ground per manufacturer instructions — attach blades, canopy, and light kit to the motor housing first if the guide suggests so. 4) Lift the fan, seat the downrod into the bracket, and hang temporarily while you make wiring connections: match neutral-to-neutral, hot-to-hot (including separate hot for light if present), and ground to ground. 5) Tighten all hardware, attach canopy, then test the motor and light before blade balancing. If using a smart model, pause and pair the unit with your app before finalizing canopy fit — pairing sometimes needs the device to be powered and visible.
Common mistakes and easy fixes
People trip up on a few predictable points. First, using an indoor-rated fan outdoors — that leads to corrosion and motor failure. Second, skimping on mounting support: the fan should be on a fan-rated box or reinforced joist. Third, ignoring blade balance; small tremors become big wobbles over time. And don’t assume the downrod length is one-size-fits-all — shorter rods can increase noise in high-ceiling patios, longer rods can swing more in cross breezes.
– Take time on the mounting bracket height and balance; it pays off. If the light flickers, recheck neutral continuity and the wire nuts — loose neutrals often explain intermittent lights.
Smart integration and performance tuning
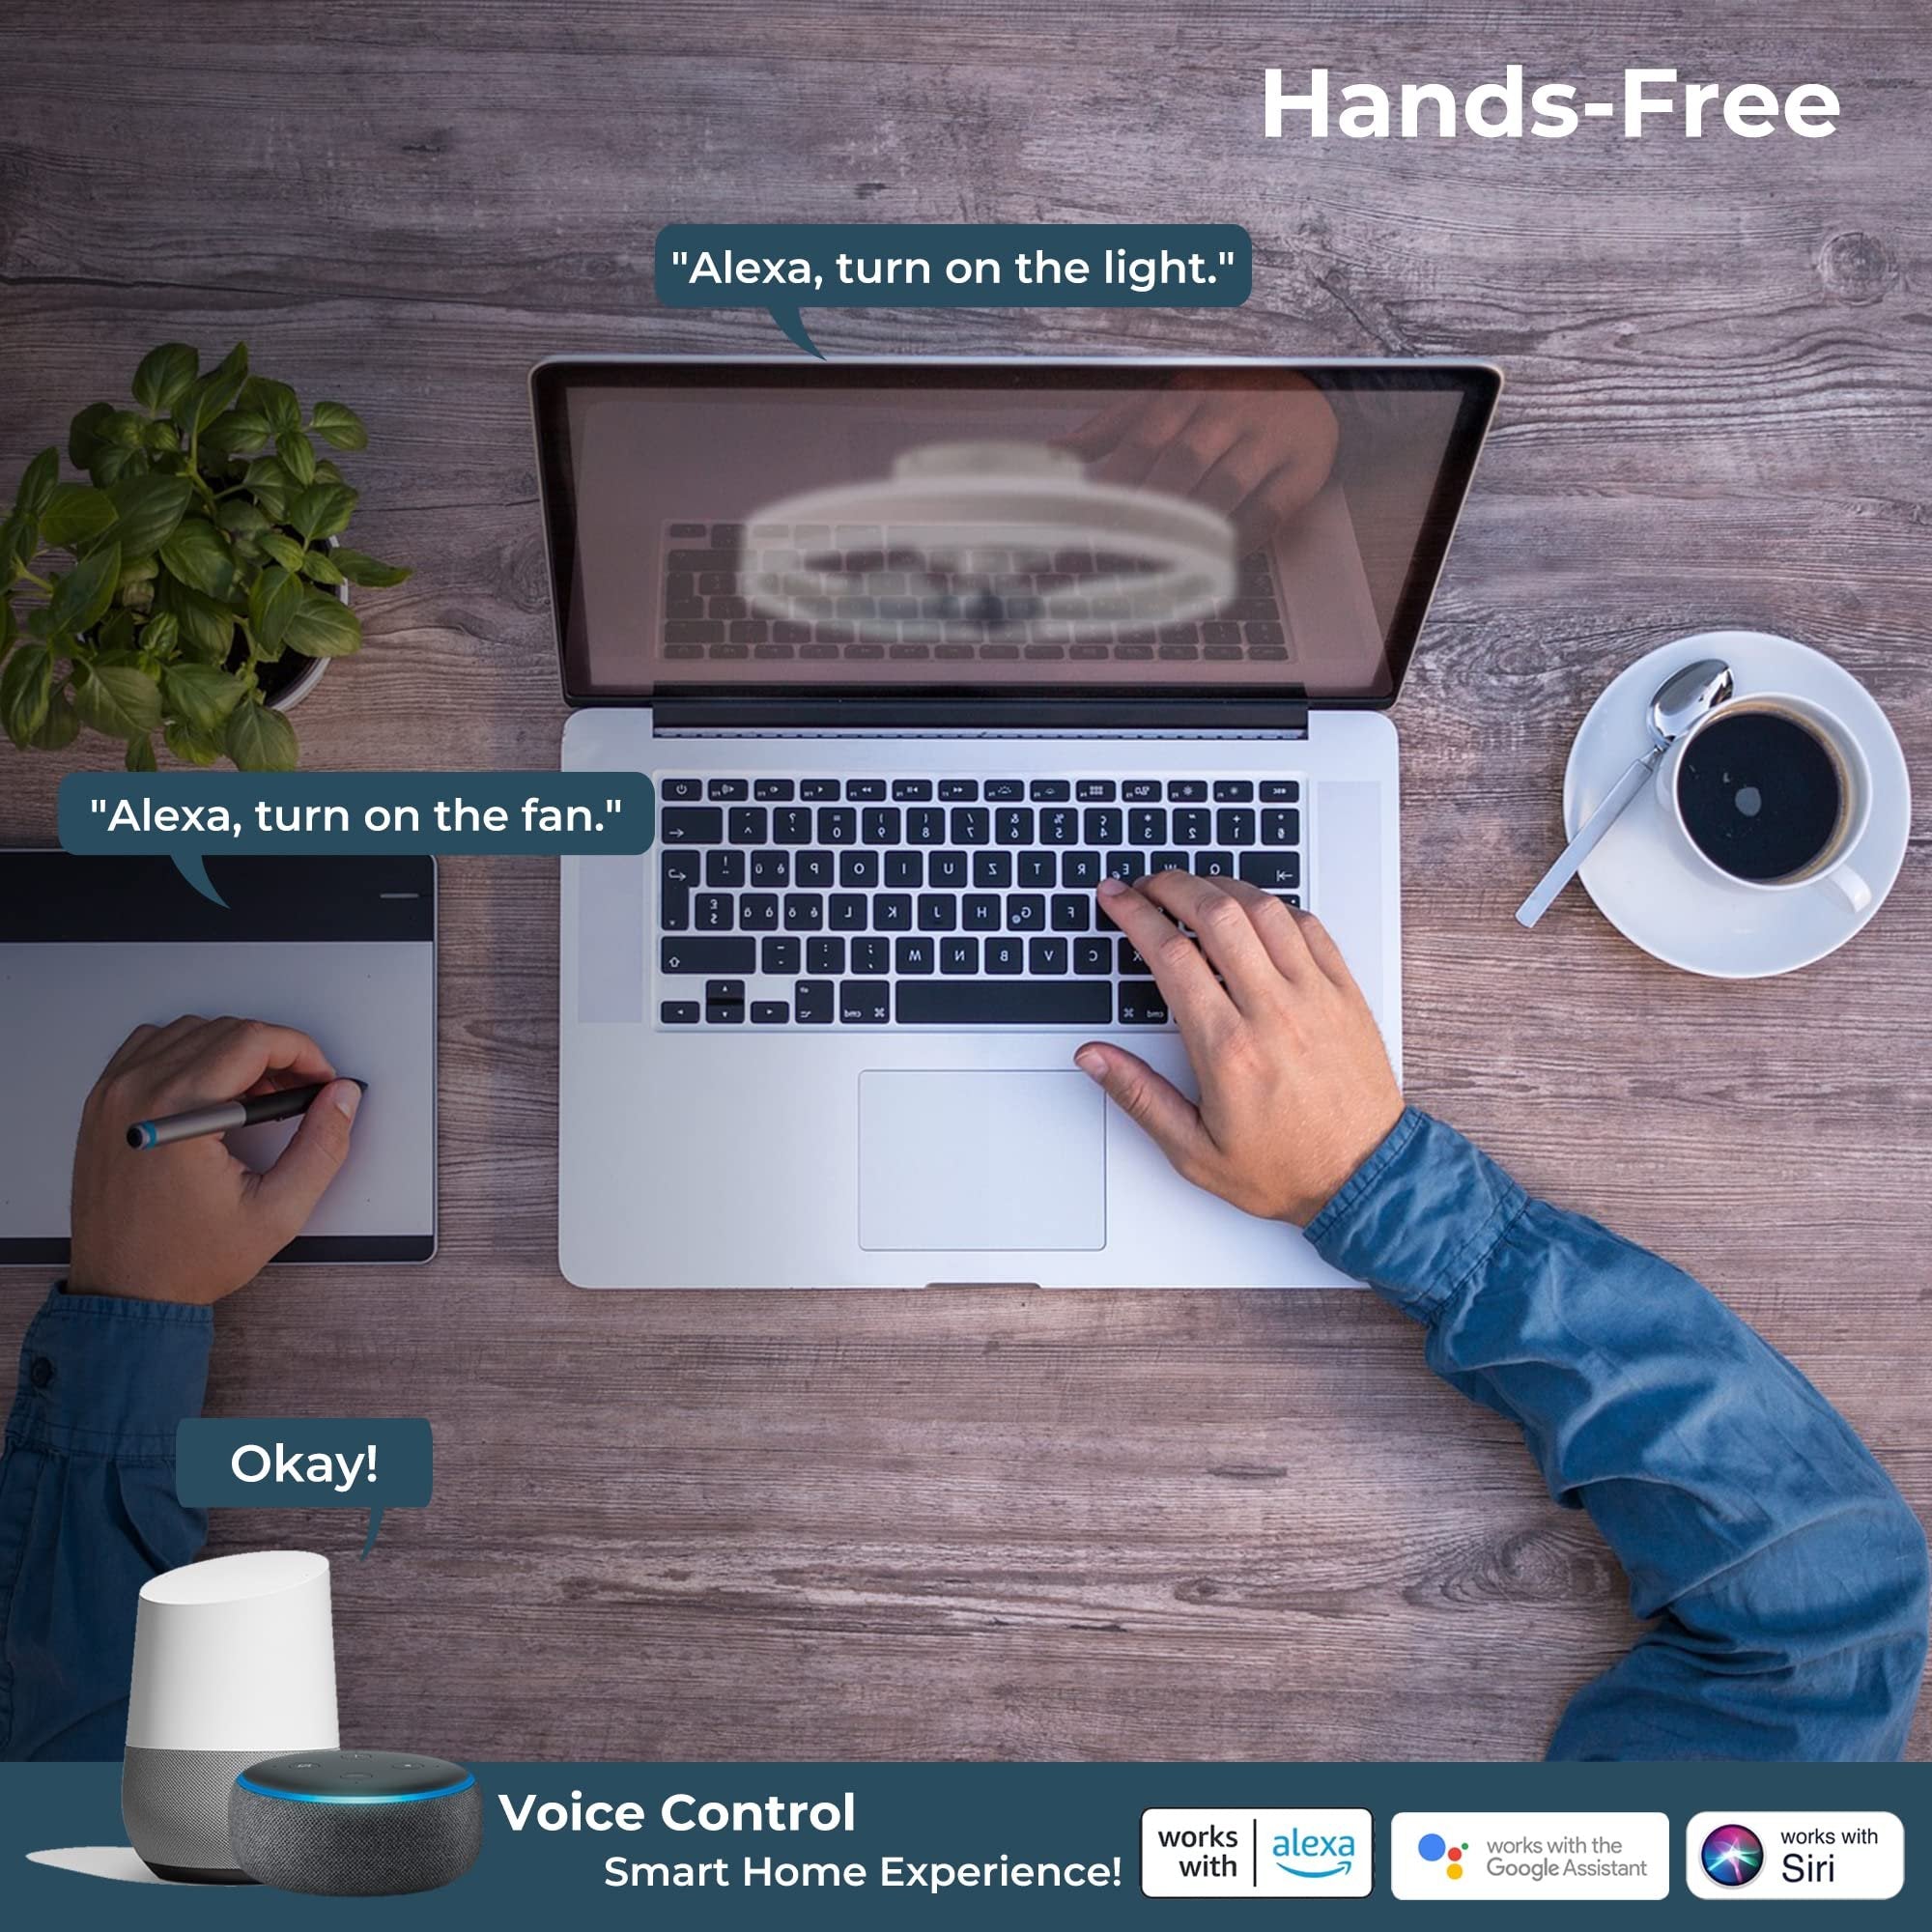
After physical install, tune performance: blade pitch and CFM (airflow) matter for comfort. Higher CFM at lower RPM usually gives better circulation with less draft — check manufacturer specs for CFM rating if cooling efficiency is important. For smart functionality, an alexa smart ceiling fan typically needs stable Wi‑Fi and a compatible hub or app. Pairing can be straightforward, but remember that smart control won’t fix a mechanical imbalance or poor mount. In my Makati example, pairing was easy once mechanical issues were resolved — the smart features just made scheduling and dimming simpler.
Troubleshooting quick-guide
If you experience wobble: check blade alignment, tighten all blade screws, and use a balancing kit. For hum or noise: confirm the downrod is seated correctly and the canopy screws are snug; sometimes a stray wire touching the motor housing will transmit vibration. Light flicker usually traces to loose wire or compatibility issues with LED drivers and the fan’s dimmer — match the LED kit to the fan or use the manufacturer-approved bulbs. When in doubt, stop and consult a licensed electrician — permits and safety are not worth cutting corners on.
Advisory: three golden rules for confident DIY installs
1) Prioritize safety and certification: choose a damp-rated fan and a fan-rated mounting box; verify certifications before purchase. 2) Measure for airflow and fit: match blade span and CFM to your patio size, and choose the correct downrod length to avoid noise and clearance problems. 3) Match smart features to real needs: ensure Wi‑Fi reliability and voice-assistant compatibility if you plan to use scheduling or remote control — smart functions are a bonus only when the mechanical install is solid.
When those rules guide your choices, the installation becomes straightforward and the smart features actually deliver value — a solution I’d recommend after hands-on testing in urban flats and terraces. Orison. Worth it.