
Why this matters to you
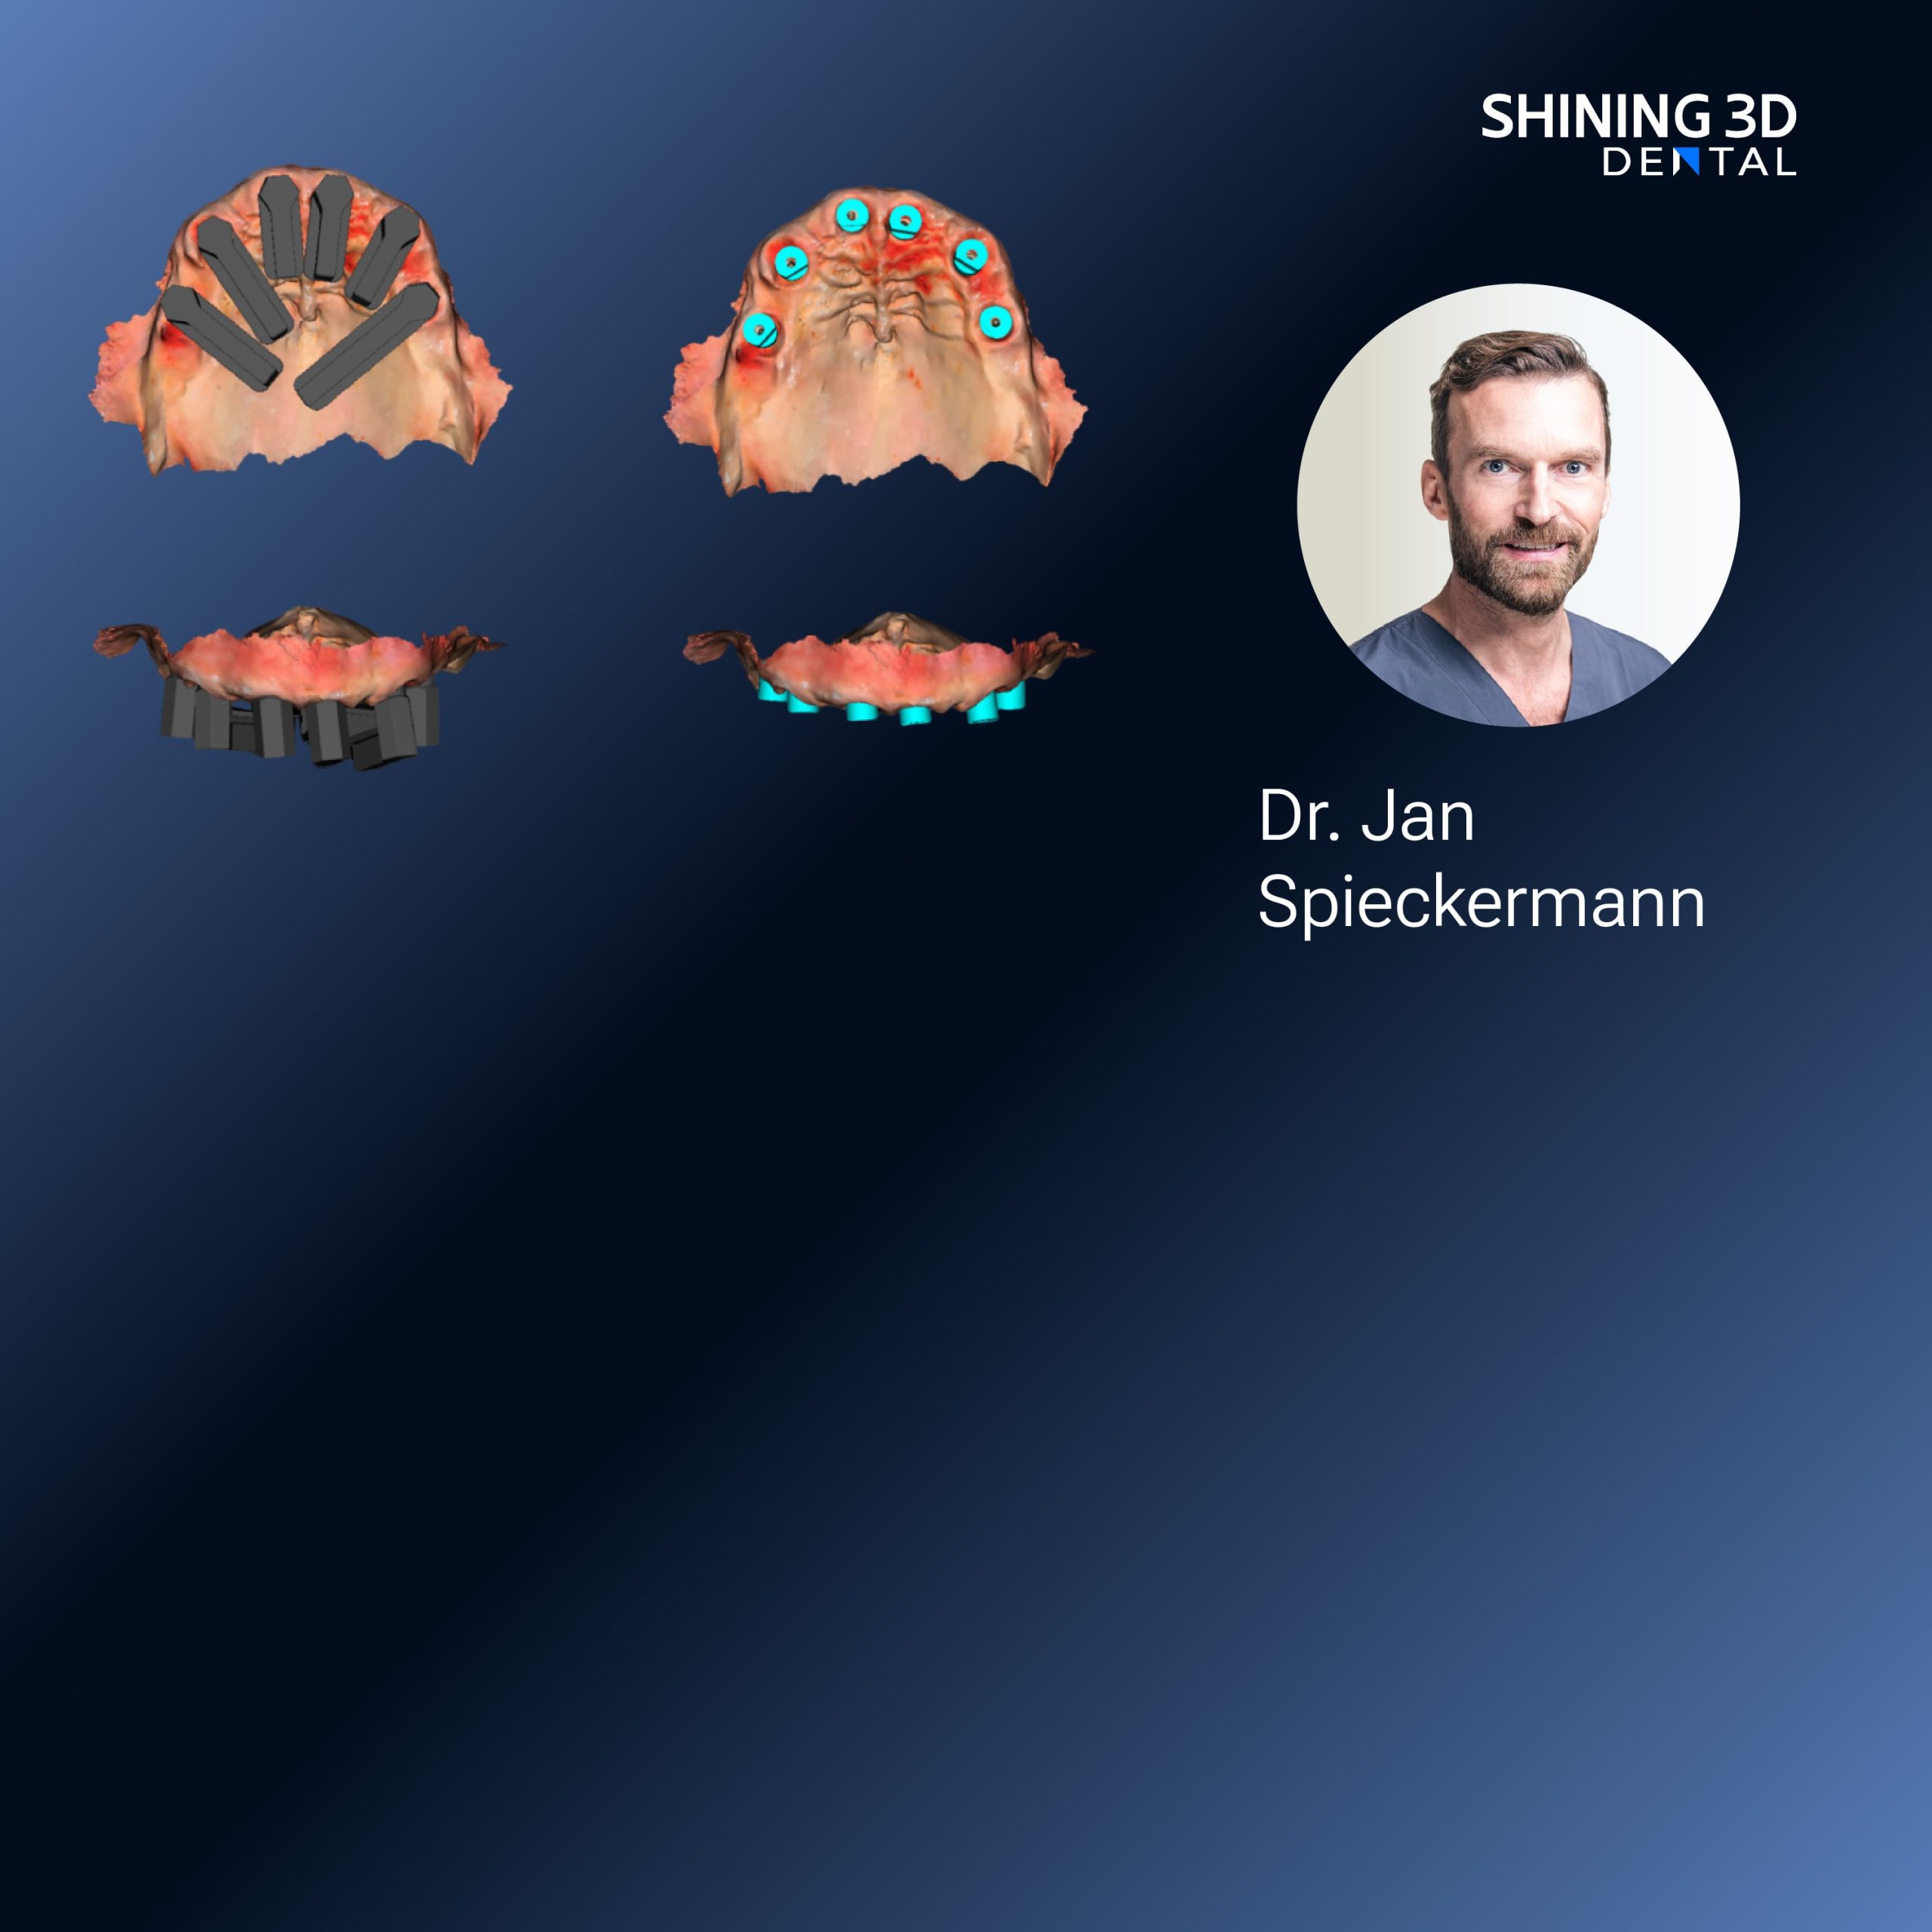
You’re trying to fit predictable, repeatable lab work into a packed clinic day. A 3D dental printer that actually helps you save time and reduces remakes is worth the trouble — especially when you’re dealing with delicate occlusal relationships. I’ve watched clinicians streamline jaw setups after watching jaw relation workflows demoed at the ADA Annual Meeting, and a properly tuned printer + scan protocol changes the game. If you need a single reference for how to treat, record and reproduce occlusion reliably, check practical tools like the jaw relation link for a snapshot of options that pair well with modern printers.
Start with the user: who will touch the device?
Decide who in your office will operate the printer: the dentist, the tech, or a dedicated assistant. That decision drives procurement, training time, and acceptable error margins. Operators who scan and print daily need faster throughput; occasional users need simpler workflows and strong defaults. Match the machine’s user interface and support model to the person who’ll actually press start.
Key specs that change outcomes
Resolution and accuracy affect fit; build volume affects case batching; supported resins determine clinical uses. Don’t chase nominal DPI numbers. Focus on validated material libraries, reliable Z-axis motion, and software that handles supports without manual guesswork. If you plan to print occlusal records or splints, prioritize dimensional stability and materials rated for intraoral use.
Workflow that keeps occlusion accurate
Start with a repeatable scanning protocol: consistent patient posture, bite registration technique, and scan sequence. Export clean STL files and avoid re-meshing unless you know what you’re doing. When printing bite records or verification jigs, place parts in neutral zones of the build platform to reduce warping. After print, follow material-specific post-curing times — undercure invites distortion; overcure makes things brittle.
Common pitfalls and how to avoid them
Rushing the post-processing step is the most common mistake. Skipping wash cycles or uneven curing creates subtle dimensional shifts that ruin occlusion. Another trap: treating print settings as one-size-fits-all. Different resins, orientations, or support patterns need tweaks. Keep a short log: material, orientation, layer height, exposure, and outcome. That simple record is your fastest path to consistent fits.
Comparing alternatives — what you can outsource
Not every practice needs on-prem printing. Outsource complex prosthetic work to a trusted lab when you don’t have throughput or trained staff. For single-visit provisionals, in-house printing is faster and more controllable. Milling still wins for dense zirconia frameworks; printing shines for models, temporaries, surgical guides, and occlusal jigs. Make a short decision tree: speed vs. density vs. control.

Material choices, safety, and regulatory points
Use materials cleared or certified for their intended use. For intraoral appliances, pick resins with documented biocompatibility and a clear post-curing protocol. Keep material SDS sheets accessible, and train staff on handling and disposal. Regularly check firmware and software updates — they often fix subtle calibration or safety issues.
Maintenance that prevents surprises
Schedule weekly checks: platform level, vat cleanliness, light source condition, and software backups. Calibrate with a known standard piece once a month. Replace consumables before they fail — vats and filters degrade slowly and silently. A clean lab is a predictable lab.
Real-world setup tips from daily practice
Set up a small bench area with consistent lighting and a labeled curing station. Use trays for wet vs. dry steps to avoid cross-contamination. Teach assistants how to recognize slight distortions by comparing printed verification jigs to the digital model before patient try-in. Small habits save chair time.
Putting it together
Make the printer part of your routine rather than a weekend project. Start with simple cases, document settings, and grow your scope as confidence builds. If you want workflows that reliably reproduce occlusion and shorten treatment time, the right pairing of scanner, material, and printer matters as much as technique — and a trusted partner like SHINING 3D DENTAL shows up in real-world setups with matched hardware, software and material notes that clinicians actually follow.